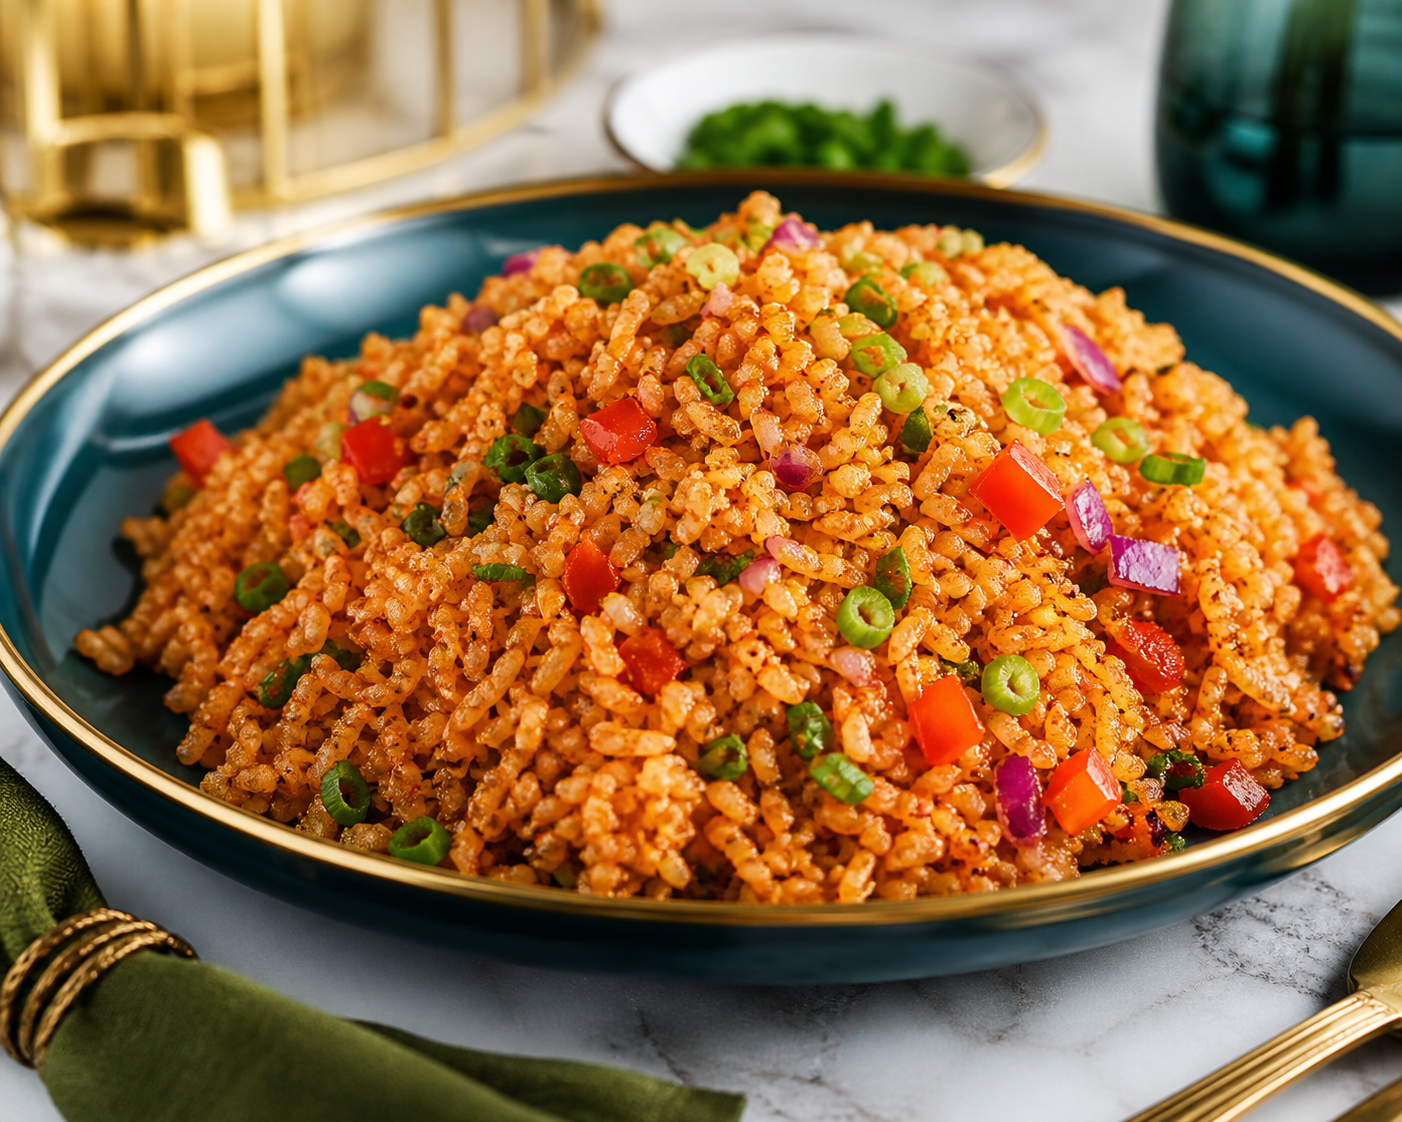
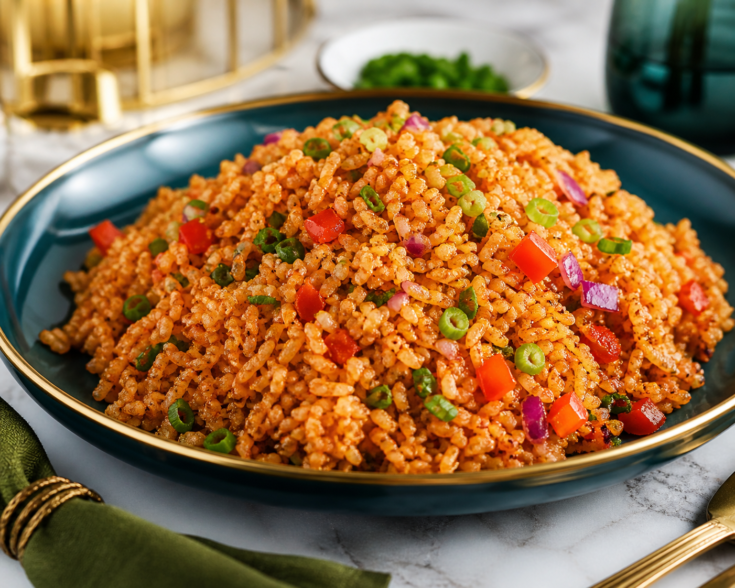
Crispy Rice Recipe
If you’re craving a crunchy treat, this crispy rice recipe is your go-to. Made with just a few simple ingredients, it’s the perfect snack for movie nights or afternoon munching.
Why You’ll Love This Recipe
This recipe is quick and loaded with flavor. It’s hard to resist once you try it.
- Crispy on the outside, chewy on the inside.
- Perfect for breakfast or as a snack.
- Customizable with various toppings or mix-ins.
- Easy to make, even for beginners.
- Uses pantry staples you likely already have.
My Experience Making This Recipe
I first made this crispy rice recipe on a whim. I wanted something simple and satisfying, and it exceeded my expectations.
The crunchy texture paired with the chewy bits created a delightful contrast. My family gobbled it up, asking when I would make it again.
Recipe Overview
- Recipe Name: Crispy Rice
- Servings: 4
- Prep Time: 10 minutes
- Cook Time: 15 minutes
- Total Time: 25 minutes
- Course: Snack
- Cuisine: American
- Calories per Serving: 150
Equipment You Will Need
- Large saucepan
- Spatula
- Measuring cups
- Baking sheet
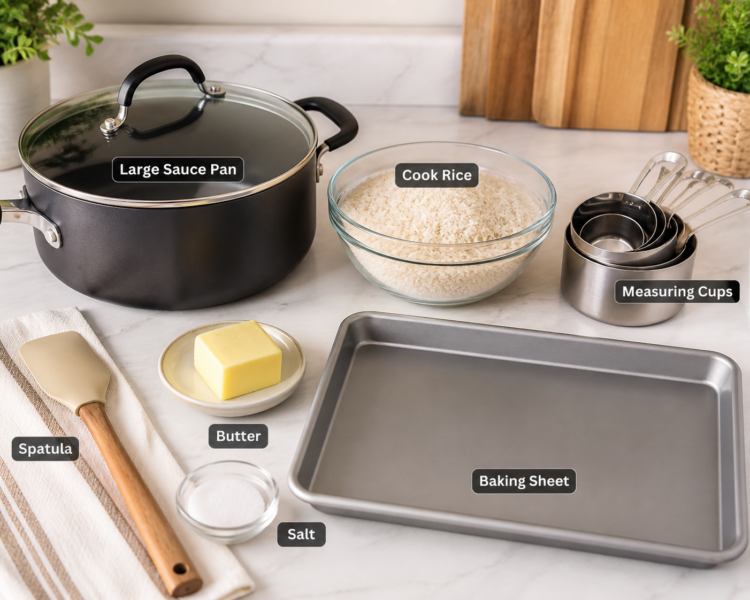
Ingredients for Crispy Rice
- 2 cups of cooked rice
- 1 cup of water
- 2 tablespoons of butter
- 1 teaspoon of salt
- Optional: spices or toppings of your choice
Ingredient Notes and Substitutions
- Cooked rice: Used for its chewy texture. You can substitute with quinoa for a protein boost.
- Butter: Adds richness. Coconut oil serves as a good dairy-free substitute.
- Salt: Enhances the overall flavor. Use a low-sodium alternative if cooking for kids.
How to Make Crispy Rice
Step 1: Prepare the Rice
If you haven’t cooked your rice, do that first. Use slightly sticky rice for the best texture.
Step 2: Melt the Butter
In a large saucepan, melt the butter over medium heat. This creates a guiding flavor for the rice.
Step 3: Add Rice to Pan
Once the butter is melted, add the cooked rice. Stir it well to coat the grains.
Step 4: Season with Salt
Sprinkle salt over the rice and mix. This helps to enhance the flavors.
Step 5: Spread Out the Rice
Evenly spread the rice mixture in the pan. More surface area means more crispy goodness.
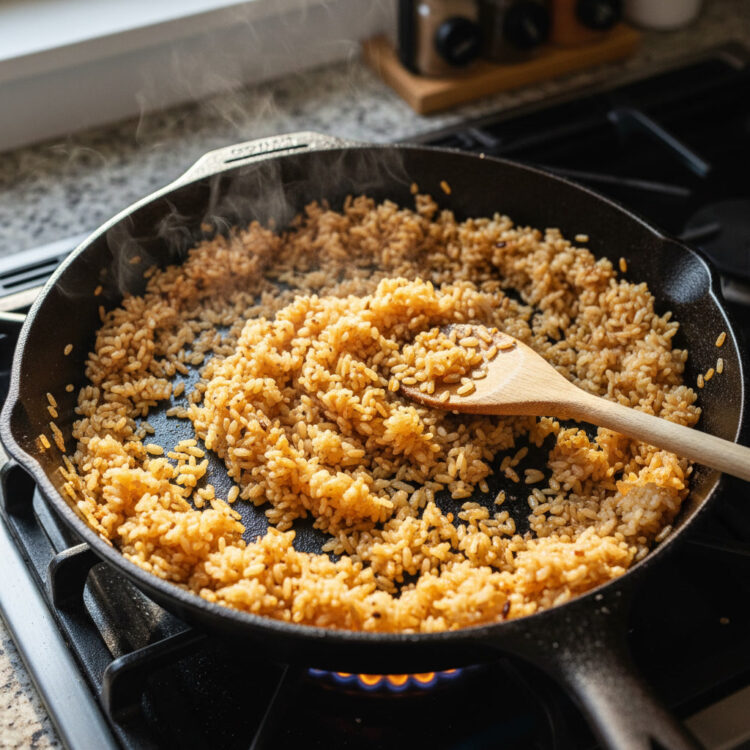
Step 6: Cook Until Golden
Let it cook undisturbed for about 10-12 minutes. This allows a golden crust to form.
Step 7: Flip the Rice
Using a spatula, carefully flip the rice in sections. This promotes an even crispiness throughout.
Step 8: Serve and Enjoy
Once both sides are crisp, remove from heat. Serve immediately and watch it disappear!
Pro Tip: For added flavor, sprinkle herbs or grated cheese on top before serving.
Tips for the Best Crispy Rice
- Use day-old rice for better texture.
- Don’t rush the cooking time; let it get crispy.
- Experiment with spices like garlic powder or paprika.
- Serve immediately for the best crunch.
- Ensure your pan is heated before adding rice to maximize crispiness.
Common Mistakes to Avoid When Making Crispy Rice Recipe
- Using fresh rice can lead to a mushy texture. Always opt for day-old rice.
- Not allowing it to cook long enough means less crispiness. Patience is key here!
- Mixing constantly prevents formation of a golden crust. Let it sit for a while.
- Too much moisture can cause sogginess. Make sure the rice is dry before cooking.
Serving Suggestions
Serve your crispy rice as a standalone snack or pair it with dips. It’s a versatile option that can enhance various meals.
- Pair with your favorite salsa.
- Top with avocado and a dash of lime.
- Serve alongside soups or salads for added crunch.
- Use as a base for stir-fried vegetables.
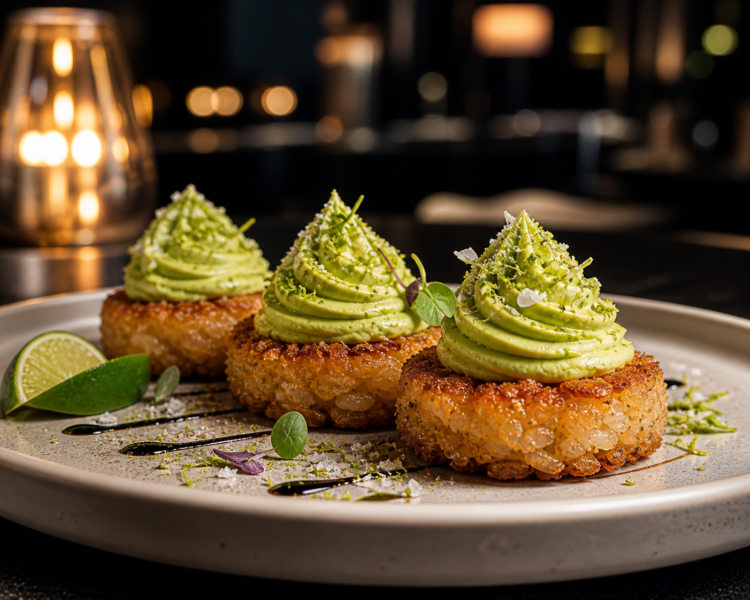
Variations to Try for Crispy Rice Recipe
- Use brown rice for a nuttier flavor and added fiber.
- Incorporate vegetables like bell peppers for added nutrition.
- Mix in shredded cheese for a cheesy crispy rice dish.
- Add spices like cumin for a southwest twist.
Dietary Adaptations
- Gluten-free: This recipe is naturally gluten-free.
- Dairy-free: Substitute butter with coconut oil or olive oil.
- Vegan: Use an oil substitute for butter to keep it plant based.
- Low-carb/keto: Use cauliflower rice as a lower-carb alternative.
Storage for Crispy Rice Recipe
Refrigerator
Store leftovers in an airtight container. They will stay fresh for up to three days.
- Allow to cool before storing.
- Reheat in a pan to regain crispy texture.
Freezer
You can freeze crispy rice for up to a month. Just ensure it is tightly sealed.
- Freeze in a single layer for easy breaking apart.
- Thaw in the refrigerator before reheating.
Reheating
To reheat, use a skillet. This will help restore its crunchiness.
- Add a little oil to the pan for better results.
- Heat over low to medium heat until warm and crispy.
Nutrition Information
| Nutrient | Amount |
|---|---|
| Calories | 150 |
| Total Fat | 6g |
| Saturated Fat | 3g |
| Carbohydrates | 21g |
| Fiber | 1g |
| Sugar | 0g |
| Protein | 3g |
| Sodium | 300mg |
| Cholesterol | 15mg |
Nutrition values are approximate and can vary based on specific ingredients.
Crispy Rice Recipe
If you're craving a crunchy treat, this crispy rice recipe is your go-to. Made with just a few simple ingredients, it’s the perfect snack for movie nights or afternoon munching.
Ingredients
- 2 cups of cooked rice
- 1 cup of water
- 2 tablespoons of butter
- 1 teaspoon of salt
- Optional: spices or toppings of your choice
Instructions
Step 1: Prepare the Rice
If you haven't cooked your rice, do that first. Use slightly sticky rice for the best texture.
Step 2: Melt the Butter
In a large saucepan, melt the butter over medium heat. This creates a guiding flavor for the rice.
Step 3: Add Rice to Pan
Once the butter is melted, add the cooked rice. Stir it well to coat the grains.
Step 4: Season with Salt
Sprinkle salt over the rice and mix. This helps to enhance the flavors.
Step 5: Spread Out the Rice
Evenly spread the rice mixture in the pan. More surface area means more crispy goodness.
Step 6: Cook Until Golden
Let it cook undisturbed for about 10-12 minutes. This allows a golden crust to form.
Step 7: Flip the Rice
Using a spatula, carefully flip the rice in sections. This promotes an even crispiness throughout.
Step 8: Serve and Enjoy
Once both sides are crisp, remove from heat. Serve immediately and watch it disappear!
Pro Tip: For added flavor, sprinkle herbs or grated cheese on top before serving.
Notes
Tips for the Best Crispy Rice
- Use day-old rice for better texture.
- Don’t rush the cooking time; let it get crispy.
- Experiment with spices like garlic powder or paprika.
- Serve immediately for the best crunch.
- Ensure your pan is heated before adding rice to maximize crispiness.
Common Mistakes to Avoid When Making Crispy Rice Recipe
- Using fresh rice can lead to a mushy texture. Always opt for day-old rice.
- Not allowing it to cook long enough means less crispiness. Patience is key here!
- Mixing constantly prevents formation of a golden crust. Let it sit for a while.
- Too much moisture can cause sogginess. Make sure the rice is dry before cooking.
Nutrition Information:
Yield:
4Amount Per Serving: Calories: 150Total Fat: 6gSaturated Fat: 3gCholesterol: 15mgSodium: 300mgCarbohydrates: 21gFiber: 1gSugar: 0gProtein: 3g
Frequently Asked Questions
Can I use leftover rice for this recipe?
Yes, leftover rice works great and often leads to a better crispy texture.
Can I make this recipe ahead of time?
Yes, you can prepare it and then reheat for serving. Just keep it stored properly.
What if my crispy rice turns out soggy?
This usually happens from too much moisture. Use dryer rice next time.
Can I add protein to this dish?
Absolutely! Cooked chicken or tofu can be mixed in for extra flavor and nutrition.
How do I store leftover crispy rice?
Store in an airtight container in the refrigerator for up to three days or freeze it for later.
Final Thoughts
This crispy rice recipe is simple yet packed with flavors. Try it today, and you might just discover a new favorite snack.
Your taste buds will thank you for this delightfully crunchy treat. Happy cooking!