Skyline Dip Recipe
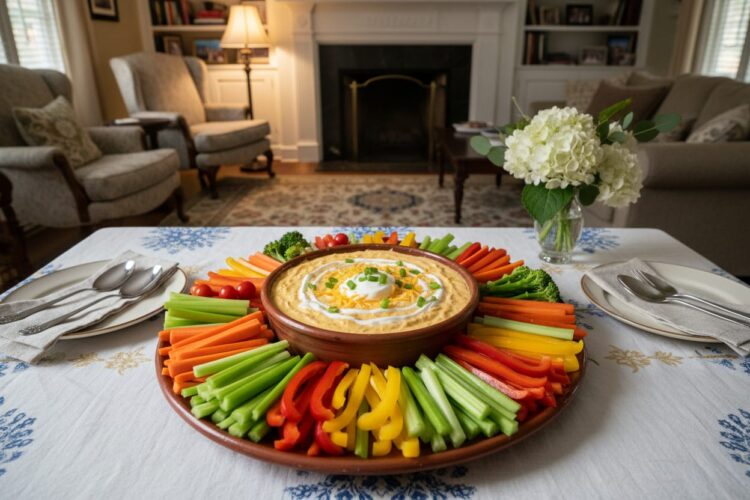
Looking for a delicious appetizer that everyone will love? This skyline Dip recipe combines layers of cream cheese, savory toppings, and some classic flavors that’ll have your guests begging for more. Perfect for parties, game nights, or simply a cozy gathering at home, this dip is sure to impress. Let’s dive into making this delightful dish!
Why You’ll Love This Recipe
This dip is a hit for several reasons. You can serve it warm or at room temperature, making it super versatile.
- Loaded with flavors that make every bite pop.
- Quick and easy to prepare, perfect for last-minute gatherings.
- Customizable toppings to fit any palate.
- Great for dipping with chips, veggies, or even bread.
- It’s a crowd-pleaser that shines at any event.
My Experience Making This Recipe
I’ve whipped up this dip countless times, and the aroma that fills the kitchen is just heavenly. Every time I bring it to a gathering, it disappears faster than I can say “skyline dip.” It’s fun to watch people come back for more, and the smiles tell me everything. The balance of creamy and savory makes it irresistible.
Recipe Overview
- Recipe Name: Skyline Dip
- Servings: 8
- Prep Time: 15 minutes
- Cook Time: 30 minutes
- Total Time: 45 minutes
- Course: Appetizer
- Cuisine: American
- Calories per Serving: Approximately 250
Equipment You Will Need
- 9×13 baking dish
- Mixing bowl
- Hand mixer or spoon for mixing
- Measuring cups and spoons
- Oven
Ingredient Notes and Substitutions
- Cream cheese: Offers a rich texture. Use Neufchâtel cheese for a lighter option.
- Sour cream: Adds tanginess. Greek yogurt can replace it and add protein.
- Shredded cheddar cheese: Provides classic flavor. Monterey Jack works well for a milder taste.
- Canned chili: Gives depth. Substitute with homemade chili for freshness.
- Diced tomatoes with green chilies: For heat and flavor. Use plain diced tomatoes if preferred.
Serving Suggestions
This skyline dip pairs beautifully with various dippers and drinks. Here are some creative serving ideas:
- Tortilla chips for a crunchy and salty experience.
- Fresh vegetable sticks for a healthier option.
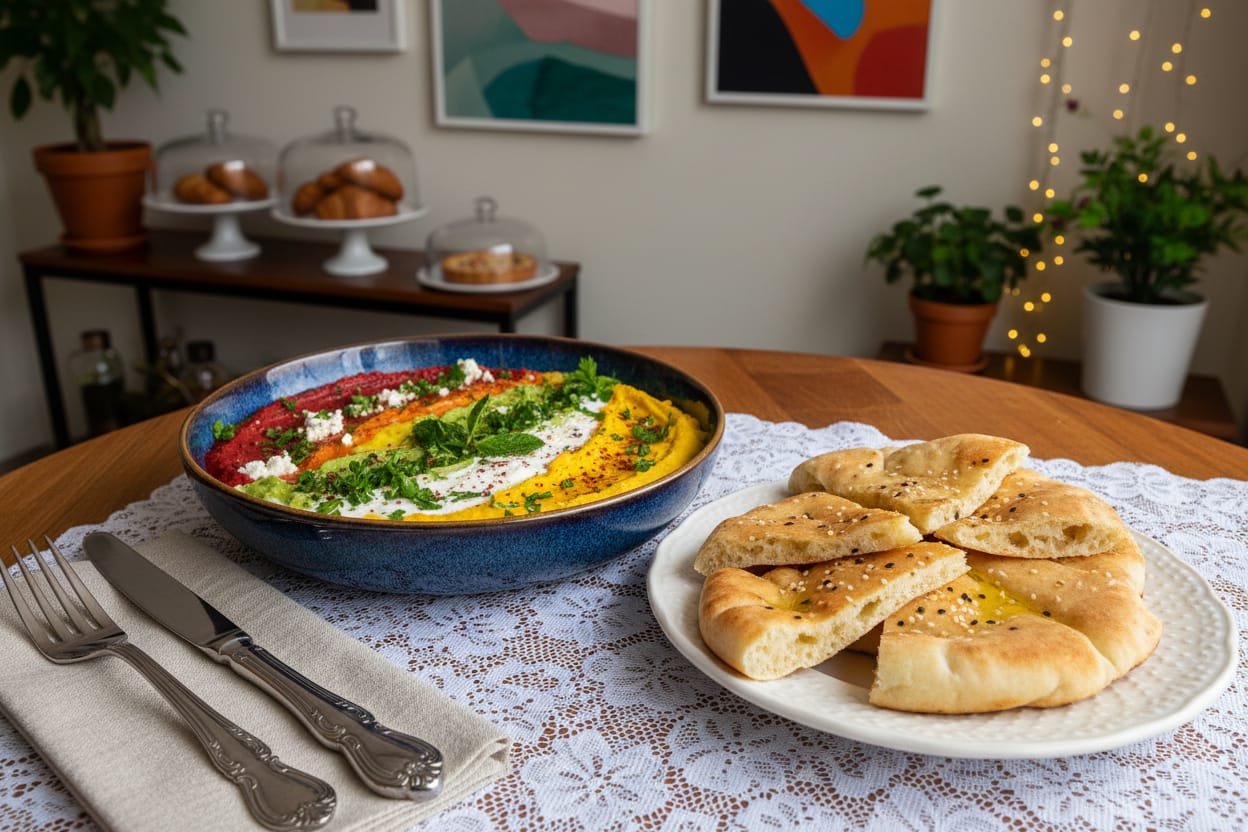
- Warm pita bread for a soft and flavorful pairing.
- Crispy crackers to add a nice crunch.
Variations to Try for Skyline Dip
- Add cooked ground beef for a heartier dip that satisfies meat lovers.
- Incorporate different cheeses, like mozzarella, for a milder flavor.
- Use spicy salsa instead of diced tomatoes for an extra kick.
- Add corn for a sweet crunch that complements the savory elements.
Dietary Adaptations
- Gluten-free: Use gluten-free chips or veggies for dipping.
- Dairy-free: Swap cream cheese and sour cream for vegan alternatives.
- Vegetarian: This dip is naturally vegetarian, just keep an eye on the chili used.
- Low-carb/keto: Use cheese crisps or veggie sticks instead of chips.
Storage for Skyline Dip
Refrigerator
Cooled leftovers can be stored in an airtight container in the fridge for up to three days.
- Reheat in the oven or microwave to enjoy again.
Freezer
You can freeze the prepared dip before baking for up to a month. Just wrap it tightly.
- Thaw in the fridge overnight before baking.
Reheating
Reheat the dip in the oven at 350°F (175°C) until warmed through, about 15-20 minutes. This helps retain the best texture.
- Microwave in 30-second intervals if in a hurry.
Skyline Dip Recipe
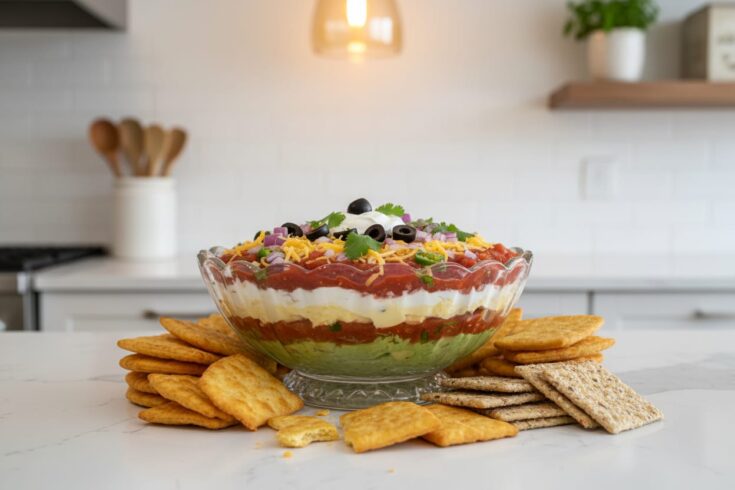
Looking for a delicious appetizer that everyone will love? This skyline Dip recipe combines layers of cream cheese, savory toppings, and some classic flavors that’ll have your guests begging for more. Perfect for parties, game nights, or simply a cozy gathering at home, this dip is sure to impress. Let’s dive into making this delightful dish!
Ingredients
- 8 oz cream cheese, softened
- 1 cup sour cream
- 1 cup shredded cheddar cheese
- 1 can (15 oz) chili, drained
- 1 cup diced tomatoes with green chilies
- 1/2 cup sliced black olives
- 1/4 cup green onions, chopped
Instructions
Step 1: Preheat the Oven
Start by preheating your oven to 350°F (175°C). This ensures even baking of the dip for that perfect melt.
Step 2: Prepare Your Baking Dish
Grease your 9x13 baking dish with a bit of cooking spray or butter. This prevents sticking and makes cleanup much easier.
Step 3: Mix Cream Cheese and Sour Cream
In a mixing bowl, blend the softened cream cheese and sour cream until smooth. This creates a creamy base for your dip.
Step 4: Add the Cheddar Cheese
Stir one cup of shredded cheddar cheese into the mixture. This adds flavor and richness to every bite.
Step 5: Layer the Chili
Spread the drained canned chili evenly over the cream cheese mixture in the baking dish. This provides a savory punch that balances the creaminess.
Step 6: Top with Tomatoes and Olives
Layer the diced tomatoes with green chilies on top of the chili, followed by sliced black olives. These toppings add freshness and a beautiful color contrast.
Step 7: Add Final Touches
Sprinkle the remaining cheddar cheese over everything. This melty layer is a must for that irresistible finish.
Step 8: Bake
Place the baking dish in the oven and bake for 25-30 minutes until bubbly and golden. This stage infuses all the flavors together beautifully.
Pro Tip: Allow the dip to cool for a few minutes before serving; it straight from the oven can be volcano hot!
Notes
Tips for the Best Skyline Dip
- Use room temperature cream cheese for easy mixing, so you won't have any lumps.
- Experiment with toppings like jalapeños or diced bell peppers for a unique twist.
- For a healthier version, use reduced-fat ingredients and load up on veggies for dipping.
- Serve with a variety of dippers, like tortilla chips, celery, or even pita bread.
- Make ahead and refrigerate before baking for a no-fuss appetizer on a busy day.
Common Mistakes to Avoid When Making Skyline Dip
- Skipping the preheat can lead to unevenly baked dip. Warm it all the way through before serving.
- Using cold cream cheese makes it hard to mix. Always soften it first.
- Forgetting to drain canned chili can lead to a watery dip. Make sure to drain thoroughly.
- Not allowing the dip to cool slightly may burn your taste buds. Patience gives you those perfect bites.
Nutrition Information:
Yield:
8Amount Per Serving: Calories: 250Total Fat: 20gSaturated Fat: 11gCholesterol: 45mgSodium: 350mgCarbohydrates: 15gFiber: 2gSugar: 1gProtein: 7g
Frequently Asked Questions
Can I substitute the chili for something milder?
Yes, using a mild chili or omitting it altogether is just fine if you prefer less heat.
How far in advance can I make this dip?
You can prepare it a day ahead and refrigerate until you’re ready to bake. That saves time!
Can it be frozen?
Absolutely! Just freeze before baking and then thaw and bake when ready.
What should I do if my dip is too thick?
If you find the dip is too thick, add a splash of milk or more sour cream to loosen it up.
Is it possible to make this dip vegetarian?
Yes, it’s already vegetarian but be sure to check the chili for meat ingredients.
Final Thoughts
This skyline dip recipe is a simple yet crowd-pleasing appetizer that brings everyone together. I hope you give it a try and enjoy the smiles it brings at your next gathering. Whether it’s game day or a cozy movie night, this dip will quickly become a favorite. Happy dipping!