Protein Cheesecake Recipe
If you’re on the hunt for a delicious yet nutritious treat, look no further than this protein cheesecake recipe. It combines creamy cheesecake goodness with a protein-packed twist, making it perfect for a post-workout snack or a guilt-free dessert. You’ll love the satisfying flavor and the fact that it’s easy to whip up! Let’s jump right into making this delightful dish.
Why You’ll Love This Recipe
This protein cheesecake is a real winner. It’s not just tasty; it’s a healthy choice too.
- Packed with protein to help fuel your day.
- No baking required, making it super simple.
- Customizable flavors to suit every palate.
- Guilt-free dessert option for any occasion.
- Perfect for meal prepping or serving guests.
My Experience Making This Recipe
When I first made this Protein Cheesecake Recipe, I couldn’t believe how easy it was. The rich, creamy texture had everyone asking for seconds at the gathering! Everyone was blown away. They were astonished to know it was healthy, and I felt like a kitchen wizard for whipping it up so quickly.

Recipe Overview
- Recipe Name: Protein Cheesecake
- Servings: 8
- Prep Time: 15 minutes
- Cook Time: 0 minutes
- Total Time: 15 minutes
- Course: Dessert
- Cuisine: American
- Calories per Serving: 150
Equipment You Will Need
- Mixing bowl
- Electric mixer or whisk
- Spatula
- 9-inch springform pan
- Plastic wrap
Ingredient Notes and Substitutions
- Greek yogurt: It adds creaminess and protein. Substitute with low-fat yogurt for fewer calories.
- Cottage cheese: This gives a smooth consistency. Use ricotta cheese if you prefer a different flavor.
- Protein powder: It boosts protein content. Swap with a plant-based protein for a vegan version.
- Honey or maple syrup: These sweeten the cheesecake naturally. Use stevia or another sweetener for a low-carb option.
- Coconut oil: This contributes healthy fats. Olive oil or avocado oil works too.
Serving Suggestions
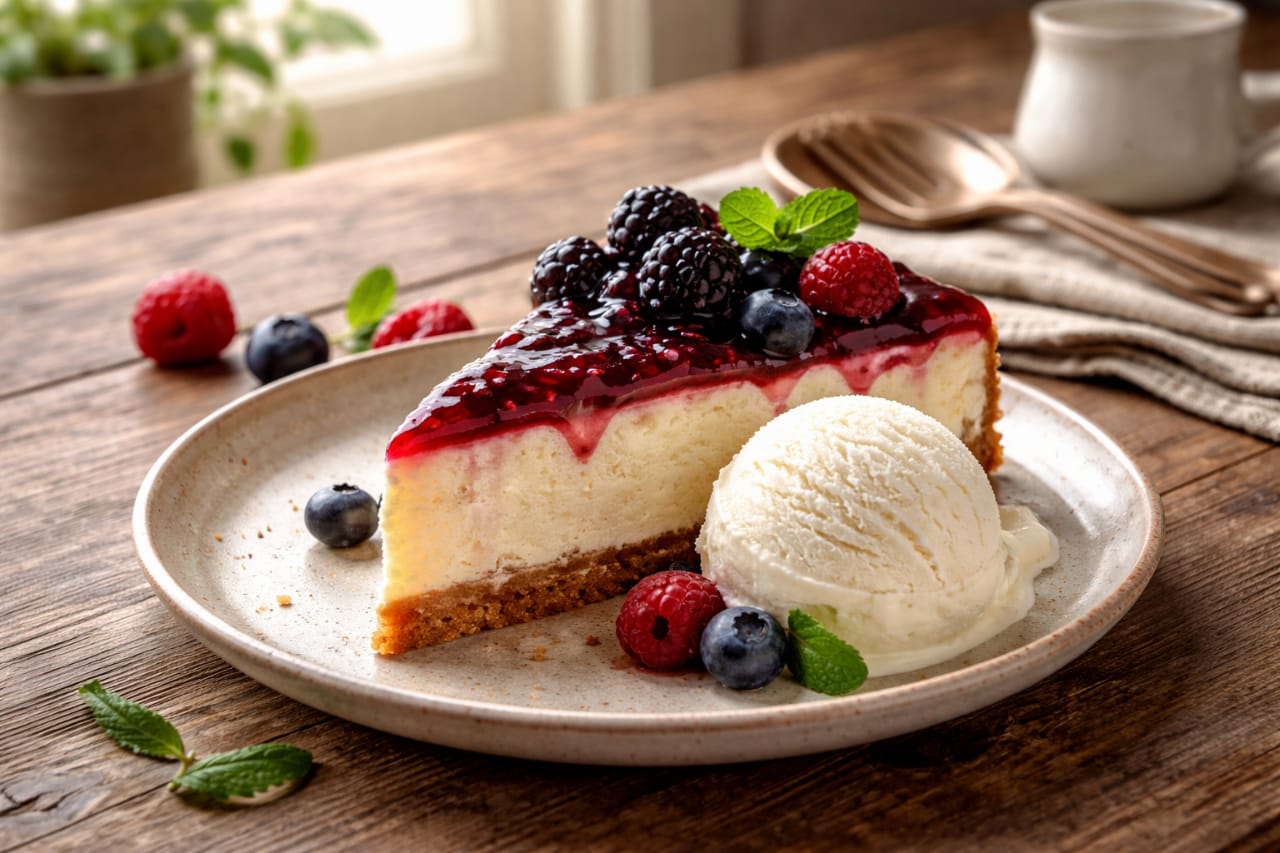
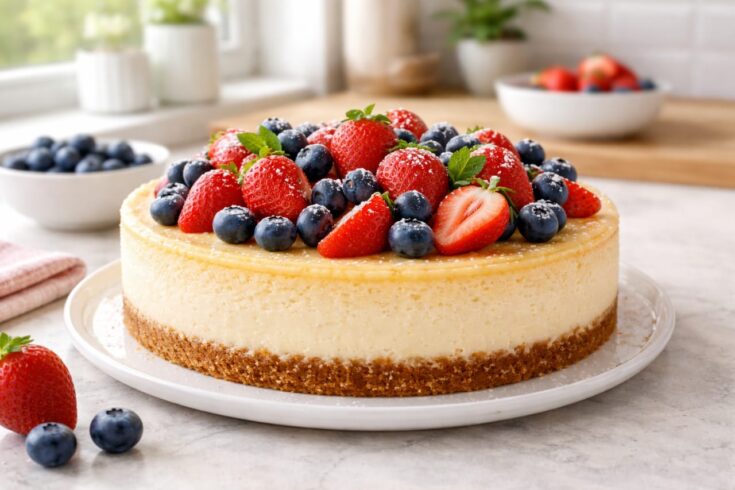
This cheesecake shines on its own but pairs beautifully with various toppings.
- Fresh strawberries or blueberries for a fruity touch.
- A drizzle of chocolate sauce for those chocolate lovers.
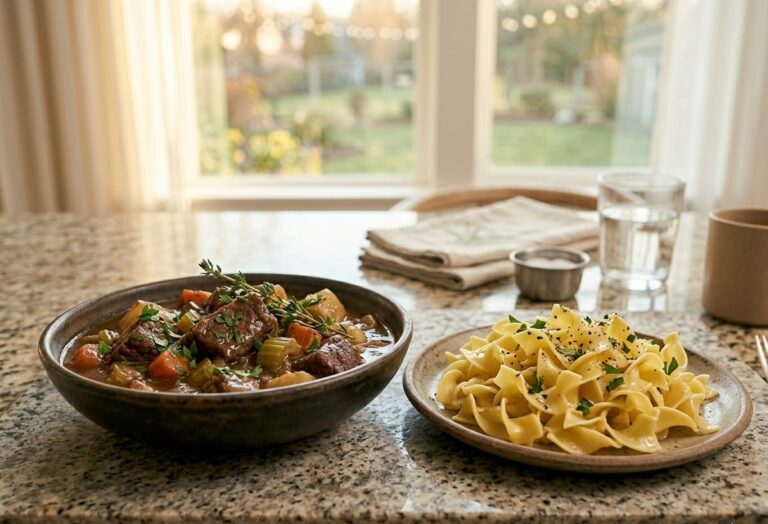
- Served alongside a scoop of low-carb ice cream.
- Crushed nuts for an added crunch.
- A sprinkle of cinnamon for a warm note.
Variations to Try for Protein Cheesecake
- Add cocoa powder to the filling for a chocolate version.
- Incorporate lemon zest for a refreshing citrus kick.
- Mix in some peanut butter for a nutty flavor.
- Swap the graham crackers for almond flour for a gluten-free crust.
- Top with a layer of caramel sauce for a sweet twist.
Dietary Adaptations
- Gluten-free: Use almond flour for the crust.
- Dairy-free: Substitute with coconut yogurt and non-dairy cream cheese.
- Vegan: Use aquafaba in place of dairy and a vegan protein powder.
- Low-carb/Keto: Use a keto-friendly sweetener and nut flour for the crust.
Storage for Protein Cheesecake
Refrigerator
Store leftovers in an airtight container in the fridge. It will stay fresh for about a week.
- Wrap tightly with plastic wrap.
- Use a cake keeper for extra protection.
Freezer
This cheesecake freezes well for up to three months. Just be sure to wrap it properly.
- Use foil or freezer bags.
- Thaw in the fridge before serving.
Reheating
There’s no need to reheat this cheesecake. Enjoy it cold for the best flavor and texture!
Protein Cheesecake Recipe
If you're on the hunt for a delicious yet nutritious treat, look no further than this protein cheesecake recipe. It combines creamy cheesecake goodness with a protein-packed twist, making it perfect for a post-workout snack or a guilt-free dessert. You'll love the satisfying flavor and the fact that it's easy to whip up! Let’s jump right into making this delightful dish.
Ingredients
- 2 cups Greek yogurt
- 1 cup cottage cheese
- 1/2 cup protein powder (any flavor)
- 1/3 cup honey or maple syrup
- 1 tsp vanilla extract
- 1/4 cup coconut oil, melted
- 1/2 cup crushed graham crackers (for crust)
- 1/4 cup melted butter (for crust)
Instructions
Step 1: Prepare the Springform Pan
Start by greasing your springform pan to ensure easy removal later. You don’t want your cheesecake to leave half of itself stuck to the pan.
Step 2: Make the Crust
Combine the crushed graham crackers and melted butter in a bowl. This creates a flavorful base for your cheesecake that adds crunch.
Step 3: Press the Crust
Evenly press the crust mixture into the bottom of the springform pan. Use a spatula to make it compact and leveled for a great structure.
Step 4: Blend the Filling
In another bowl, mix the Greek yogurt, cottage cheese, protein powder, honey, vanilla, and melted coconut oil. This is where the magic happens as flavors come together!
Step 5: Whisk Until Smooth
Use an electric mixer or whisk until the mixture is completely smooth. Nobody wants a lumpy cheesecake, trust me.
Step 6: Pour the Filling
Carefully pour the filling over the crust in the springform pan. Spread it evenly to ensure each bite has the perfect balance of crust and filling.
Step 7: Chill the Cheesecake
Cover the cheesecake with plastic wrap and refrigerate for at least 4 hours or overnight. This step helps it set properly and enhances the flavors.
Step 8: Serve and Enjoy!
Once chilled, run a knife along the edge of the pan before releasing the springform. Slice into pieces and enjoy your creamy creation!
Pro Tip: Always taste your filling before chilling. This way, you can adjust sweetness or flavor to your liking.
Notes
Tips for the Best Protein Cheesecake
- Use room temperature ingredients for easier mixing.
- Let it chill overnight for the best flavor.
- Top with fresh fruit or a berry sauce for extra flair.
- Experiment with different protein powder flavors.
- Don't rush the chilling process; patience is key!
Common Mistakes to Avoid When Making Protein Cheesecake
- Skipping the chilling time: This leads to a runny cheesecake.
- Not pressing the crust firmly enough: A crumbly crust won't hold together.
- Using cold ingredients: Cold ingredients won't blend smoothly.
- Overmixing the filling: This can lead to a texture that isn’t creamy.
- Not tasting before chilling: Adjust sweetness to your preference!
Nutrition Information:
Amount Per Serving: Calories: 150Total Fat: 6gSaturated Fat: 4gCholesterol: 20mgSodium: 90mgCarbohydrates: 14gFiber: 1gSugar: 8gProtein: 12g
Frequently Asked Questions
Can I use a different type of protein powder?
Absolutely! Feel free to use your favorite protein powder for the best results.
How far in advance can I make this cheesecake?
You can make it up to three days in advance. Just keep it wrapped in the fridge until serving.
What should I do if my cheesecake isn’t setting?
Make sure you allow it ample chilling time. If using fresh ingredients, check for the right consistency before refrigerating.
Can I omit the sweetener?
You can, but the cheesecake may lack flavor. Consider adding a touch of vanilla or other flavorings to enhance it.
How do I make the cheesecake taste less tangy?
Try using less Greek yogurt and more cream cheese for a smoother taste. You can also increase the sweetener for balance.
Final Thoughts
Making this Protein Cheesecake Recipe isn’t just rewarding; it’s also fun to get creative with flavor variations. I hope you enjoy every bite as much as I do! Give it a shot, and trust me, your taste buds will thank you. Happy baking!