Vanilla Wafer Recipe
Looking for a delightful snack? This Vanilla Wafer Recipe combines simple ingredients like flour and vanilla to create a crunchy treat perfect for any occasion. Whether you’re stacking them for dessert or enjoying them on their own, these vanilla wafers will quickly become a fan favorite.
Why You’ll Love This Recipe
This recipe is a straightforward and delicious way to whip up a classic treat. You’ll enjoy the sweet, buttery flavor and satisfying crunch.
- Easy to follow even for beginners.
- Great for parties or a cozy night in.
- Can be used in various desserts like banana pudding.
- Perfect for kids and adults alike.
My Experience Making This Recipe
The first batch of these vanilla wafers filled my kitchen with a heavenly aroma. As the house filled with that sweet vanilla fragrance, I could hardly wait to taste them.
Recipe Overview
- Recipe Name: Vanilla Wafer Recipe
- Servings: 24 cookies
- Prep Time: 15 minutes
- Cook Time: 12 minutes
- Total Time: 27 minutes
- Course: Snack
- Cuisine: American
- Calories per Serving: 75
Equipment You Will Need
- Baking sheet
- Parchment paper
- Mixing bowl
- Whisk
- Spoon or cookie scoop
- Cooling rack
Ingredient Notes and Substitutions
- All-purpose flour: This gives a great texture. You can use gluten-free flour as an alternative, but the texture may differ.
- Granulated sugar: Adds sweetness. Brown sugar can work in a pinch, giving a richer flavor.
- Unsalted butter: Keeps control over salt levels. You can opt for dairy-free butter for a dairy-free option.
- Egg: Helps bind the ingredients. A flax egg can be used for a vegan version.
- Vanilla extract: Provides rich flavor. You can use vanilla bean paste for an even more intense flavor.
Serving Suggestions
These vanilla wafers are delightful on their own, but they pair wonderfully with various options.
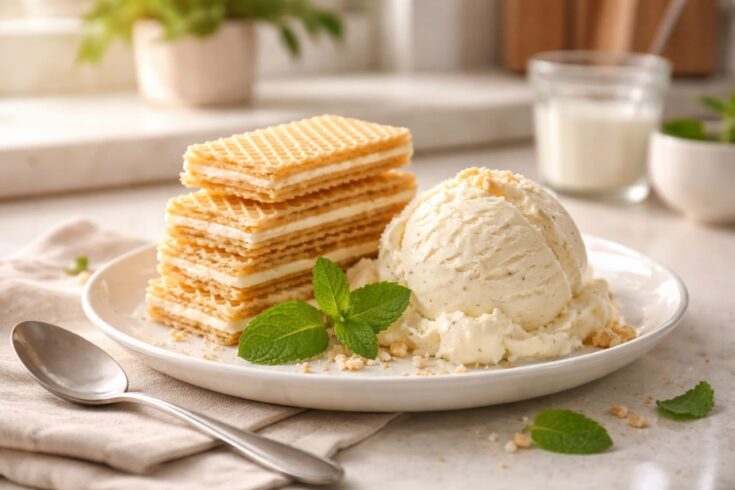
- Serve alongside ice cream for a quick dessert.
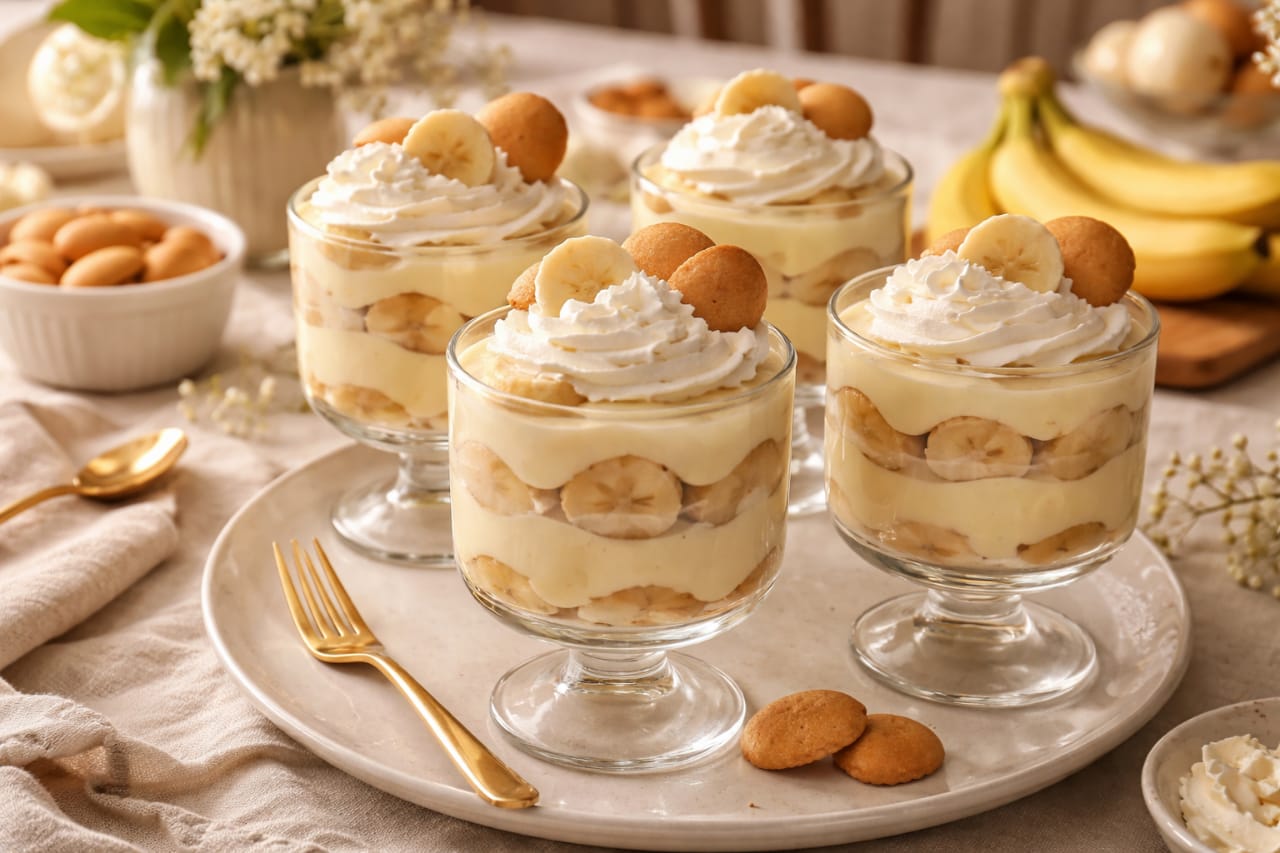
- Add them to a banana pudding for extra texture.
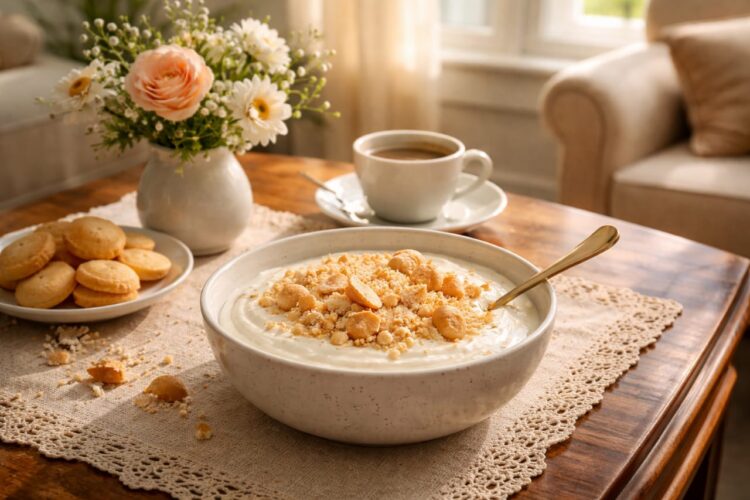
- Crush and sprinkle over yogurt for a fun breakfast.
- Dip them in chocolate for a sweet indulgence.
Variations to Try for Vanilla Wafer Recipe
- Add chocolate chips for extra sweetness and texture.
- Incorporate lemon zest for a zesty twist.
- Try almond extract instead of vanilla for a unique flavor.
- Mix in some nuts for added crunch and richness.
Dietary Adaptations
- Gluten-free: Substitute with a gluten-free flour blend for similar results.
- Dairy-free: Replace the butter with a dairy-free option.
- Vegan: Use a flax egg or chia egg in place of the egg.
- Low-carb/Keto: Substitute sugar with erythritol or another sweetener.
Storage for Vanilla Wafer Recipe
Refrigerator
To maximize freshness, store wafers in an airtight container.
- Lasts about a week in the fridge.
Freezer
For longer storage, freeze the cookies in a freezer-safe container.
- They will keep well for 2-3 months.
Reheating
To bring back that fresh crunch, briefly heat in the oven.
- Reheat at 300°F (150°C) for about 5 minutes.
Vanilla Wafer Recipe
Looking for a delightful snack? This Vanilla Wafer Recipe combines simple ingredients like flour and vanilla to create a crunchy treat perfect for any occasion. Whether you're stacking them for dessert or enjoying them on their own, these vanilla wafers will quickly become a fan favorite.
Ingredients
- 1 ½ cups all-purpose flour
- 1 cup granulated sugar
- ½ cup unsalted butter, softened
- 1 large egg
- 2 teaspoons vanilla extract
- ½ teaspoon baking powder
- ¼ teaspoon salt
Instructions
Step 1: Preheat the Oven
Preheat your oven to 350°F (175°C). This ensures your cookies bake evenly and set properly.
Step 2: Prepare the Baking Sheet
Line a baking sheet with parchment paper. This prevents sticking and makes clean-up a breeze.
Step 3: Cream the Butter and Sugar
In a mixing bowl, combine softened butter and sugar. Creaming them together helps create a light and airy texture in the cookies.
Step 4: Add the Egg and Vanilla
Mix in the egg and vanilla extract until well incorporated. This adds moisture and flavor, making your wafers irresistible.
Step 5: Combine the Dry Ingredients
In a separate bowl, whisk together the flour, baking powder, and salt. This ensures even distribution of the leavening agent and salt in the cookie dough.
Step 6: Mix Dry and Wet Ingredients
Gradually add the dry mixture to the wet ingredients, mixing until just combined. Overmixing can lead to dense wafers, so stop when ingredients are combined.
Step 7: Scoop the Dough
Using a spoon or cookie scoop, drop rounded tablespoons of dough onto the prepared baking sheet. Space them about two inches apart, as they will spread while baking.
Step 8: Bake Until Golden
Bake for 10 to 12 minutes until the edges are lightly golden. Keep a close eye to avoid overbaking, as they can become hard.
Pro Tip: For extra crunch, let them cool completely on a wire rack before serving.
Notes
Tips for the Best Vanilla Wafer Recipe
- Use room temperature ingredients for better mixing and texture.
- Chill your dough for 30 minutes if it's too soft to scoop easily.
- Experiment with adding a pinch of cinnamon for a unique twist.
- Store in an airtight container to maintain crispness.
- Double the recipe to have enough for sharing (or not).
Common Mistakes to Avoid When Making Vanilla Wafer Recipe
- Using cold butter can result in uneven mixing. Always soften your butter before creaming.
- Overmixing the dough can yield tough cookies. Mix just until ingredients are blended.
- Not spacing the cookies properly leads to them merging. Give them room to spread!
- Skipping the cooling step means they won't get crunchy. Make sure to let them cool on a rack.
Nutrition Information:
Yield:
24cookiesAmount Per Serving: Calories: 75Total Fat: 4gSaturated Fat: 2gCholesterol: 15mgSodium: 50mgCarbohydrates: 9gSugar: 4gProtein: 1g
Frequently Asked Questions
Can I substitute the eggs in this recipe?
Yes, you can use a flax egg or a chia egg for a vegan option.
Can I prepare the dough ahead of time?
Absolutely! You can prepare the dough a day in advance and store it in the refrigerator.
What should I do if my wafers turn out soft?
Make sure to cool them completely on a wire rack, as this helps them become crisper.
Can I use flavored extracts instead of vanilla?
Yes, almond or lemon extracts can provide a unique twist to the flavor.
How do I know when the wafers are done baking?
Look for lightly golden edges; this indicates they are perfectly baked.
Final Thoughts
Making your own vanilla wafers is rewarding and truly satisfying. I encourage you to give this recipe a try and enjoy the warm, buttery goodness!